Create folders and upload files via Flows
When a new record gets created for a certain object, we want 24Files to automatically generate a predefined folder structure. Within these folders we want to upload certain template files.
E.g., when a record of the object opportunity gets created, a folder can be created and populated with a template file of a quote.
Please consult the example Flow 24Files Folder Create Demo that is shipped with the 24Files package.
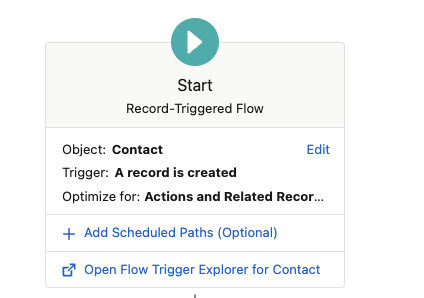
Start with the creation of the desired flow trigger.
In this example, we start with a record-triggered flow.
Generate folder structure
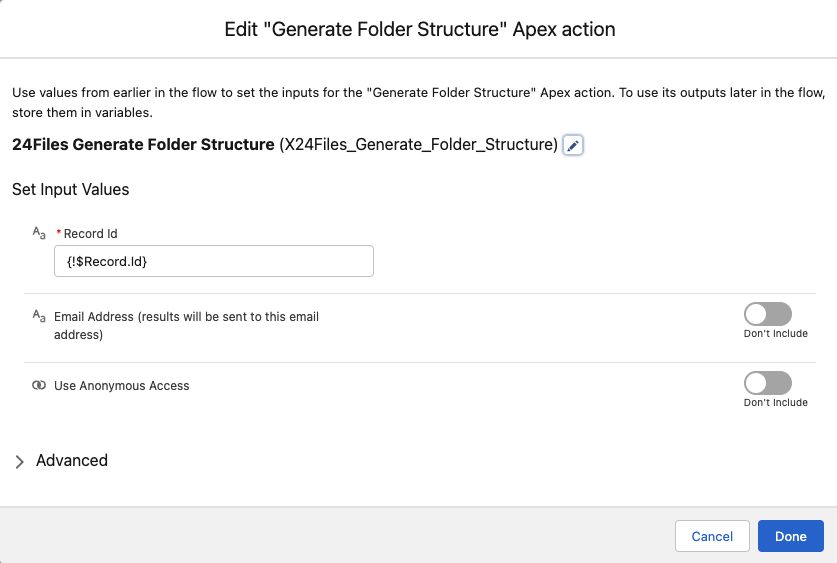
Next we add an Action from the category SharePoint “Generate Folder Structure”.
Here you will specify the folder structure that you are going to make for this record. This folder will be the structure that is defined according to the 24Files folder structure settings.
Remark: Make sure that the 24Files component is active on this page, otherwise the folder structure will not be created.
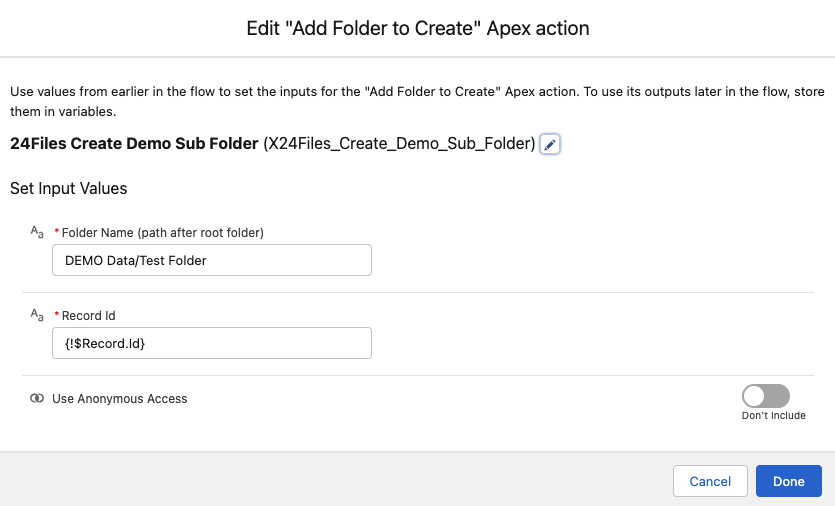
Optional: Generate extra folder / sub folder via the “add folder to create” function.
Fill in the name of the folder you want to create
Specify the record where you want to create the folder
(other example: record.accountid)
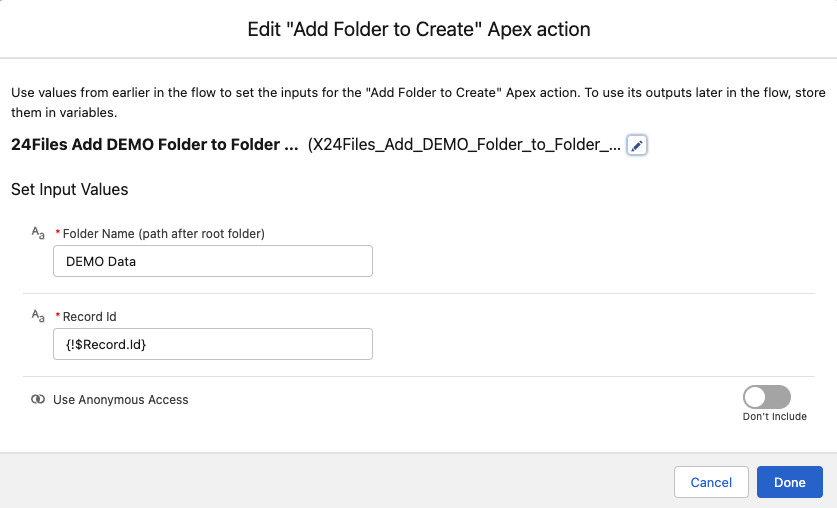
You can generate a subfolder with a dash “/”
So for an extra sub folder, we create an additional Flow action with “Add Folder to Create” and as folder name Mainfolder/Subfolder. Also fill in the record ID in this case.
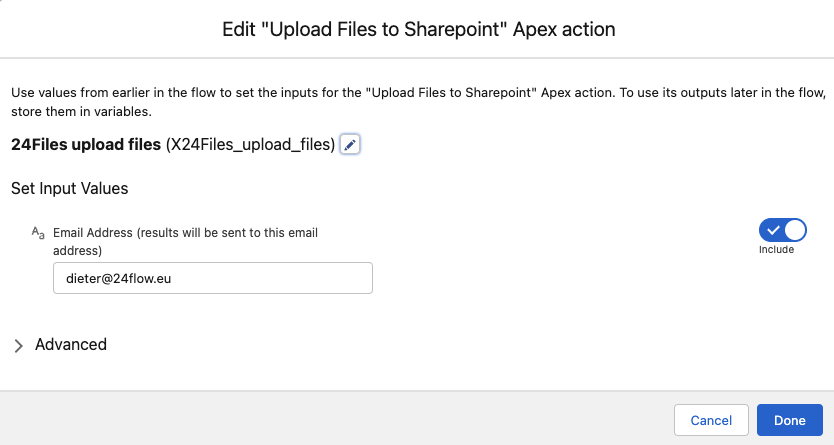
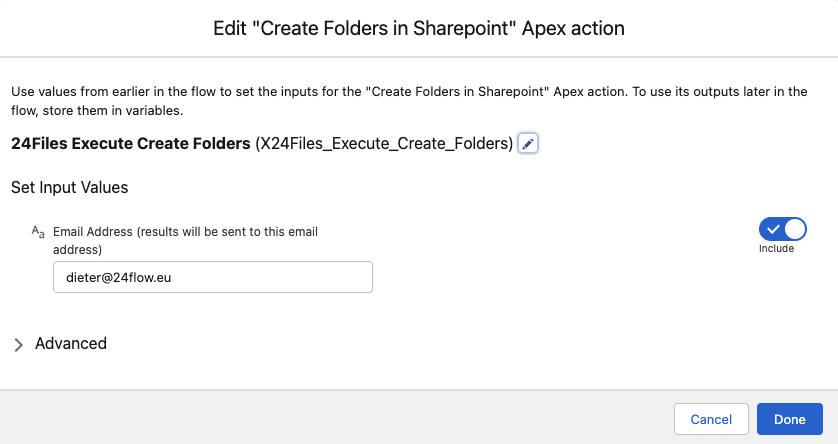
Create folders in SharePoint
This function will actually create the folders in SharePoint that have been specified before.
You can fill in an email address to where you want to receive the status of your flow action/upload. You can toggle this functionality off; but this can be handy if you would experience issues in the future. Then you can toggle this option on and re run the flow to see the results.
Upload Files
Fill in the content document ID of the file in Salesforce which you want to upload via 24Files.
=> First upload a file via Salesforce files
=> view file details
=> the ContentDocumentID can be retrieved from the URL shown in the navigation bar, e.g. in this example https://24files-dev-ed.lightning.force.com/lightning/r/ContentDocument/0695I00000MlgyrQAB/view , the ContentDocumentID equals 0695I00000MlgyrQAB.
=> copy paste the ID in the flow actionRecord Id is the place to where you want to upload the file.
Folder name is the folder where you want to store the files
with a “/“ you will place it in the record folder itself.
To place the files in a specific folder, fill in the folder name, if you want to place it in a folder name use the path Folder/Subfolder.Anonymous access: if you want to upload the files via the standard user from 24Files settings, e.g. when your Flow runs in the portal.
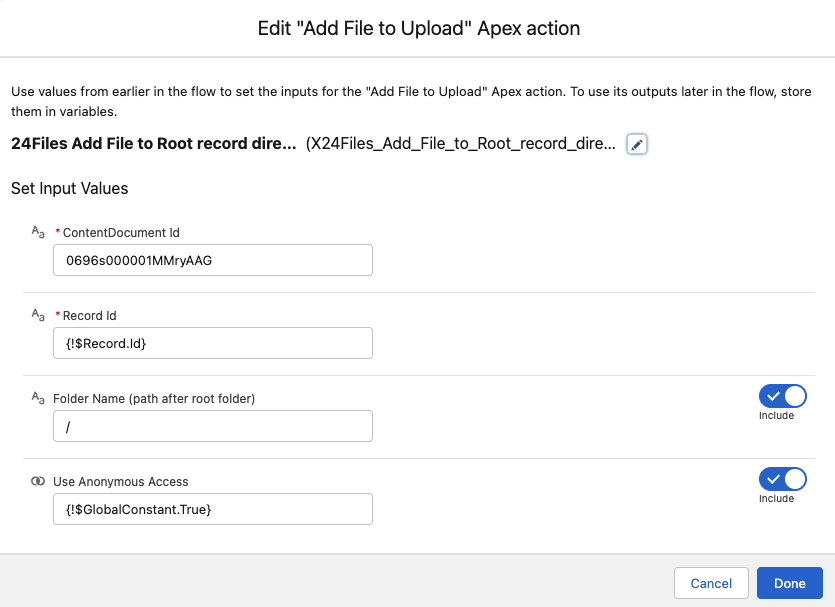
Finally, upload files to SharePoint after they were uploaded to Salesforce.
